7 Add a popup
START FROM HERE: You can keep working on your code from the previous section, or use the example code up to this point in the workshop.
Next we’ll add popups to our points.
7.1 Add a popup
It would be nice to have some information available for each marker. Let’s make a popup that tells us about each location. We’ll start with a text popup and gradually add more to it.
We made our markers for our point locations by iterating over the list of features in our dataset and making a marker for each of them. We can add a function to the one we already have so that once the markers get made, each will get a popup.
We’ll modify our code that adds our points to look like this:
    //add food points from the GeoJSON (campus_food.js) file

    var foodpoints = L.geoJSON(campus_food, {
        pointToLayer: function(feature, latlng){
            return L.circleMarker(latlng, {color: 'orange', radius: 8});
        },
        onEachFeature: function(feature, layer){
            layer.bindPopup("This is a popup!");
        }
    }).addTo(foodmap);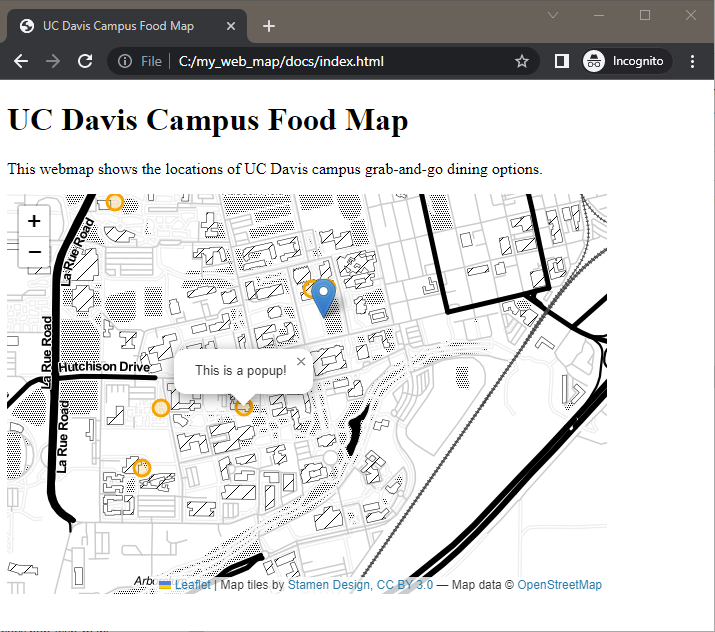
What did we do? After the pointToLayer function, we added a new created a new function called OnEachFeature that uses the feature (each row of the data) and the layer information. For each feature, we have it bind a popup to our layer (named foodpoints) and put the text that is in the parentheses into the popup. For now, all of our popups will say “This is a popup!”. We’ll build on that next.
7.2 Customize Popup Text with Data
This is progress! We have a map with points and popups that contain placeholder text. Let’s use the attribute data from our foodpoints layer to add the name of each location to the popup.
Instead of the “This is a popup!” text, we can use the attribute data from our foodpoints data. Replace the current “This is a popup!” text with: feature.properties.Name (with no quotes around it). As we loop through each row of our data, the code will add each location’s name to the popup.
    //add food points from the GeoJSON (campus_food.js) file

    var foodpoints = L.geoJSON(campus_food, {
        pointToLayer: function(feature, latlng){
            return L.circleMarker(latlng, {color: 'orange', radius: 8});
        },
        onEachFeature: function(feature, layer){
            layer.bindPopup(feature.properties.Name);
        }
    }).addTo(foodmap);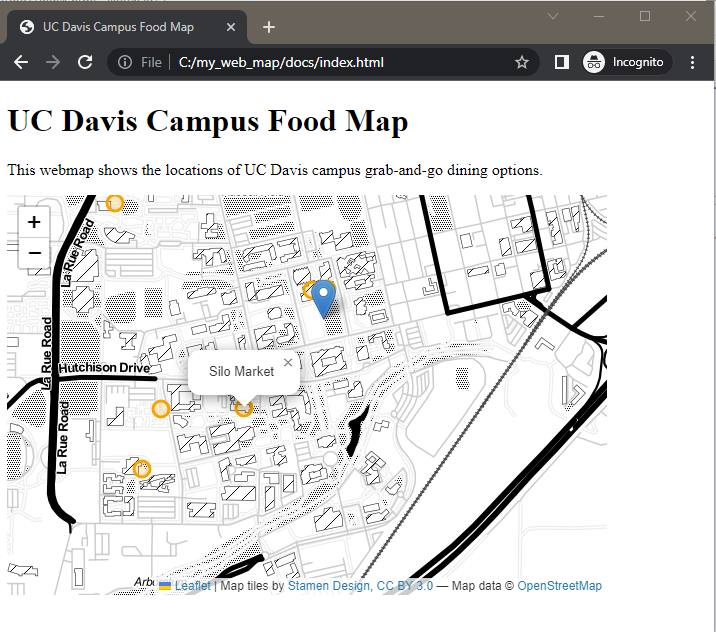
7.3 Add details to the popup text
What if we want to give the popup more context?
The text for the popup can be plain text, but we can also use HTML to style the text like a very small webpage. (If your head is starting to spin from switching languages… HTML page containing JavaScript containing HTML… this is normal.) We’ll start small and build up to something more complex.
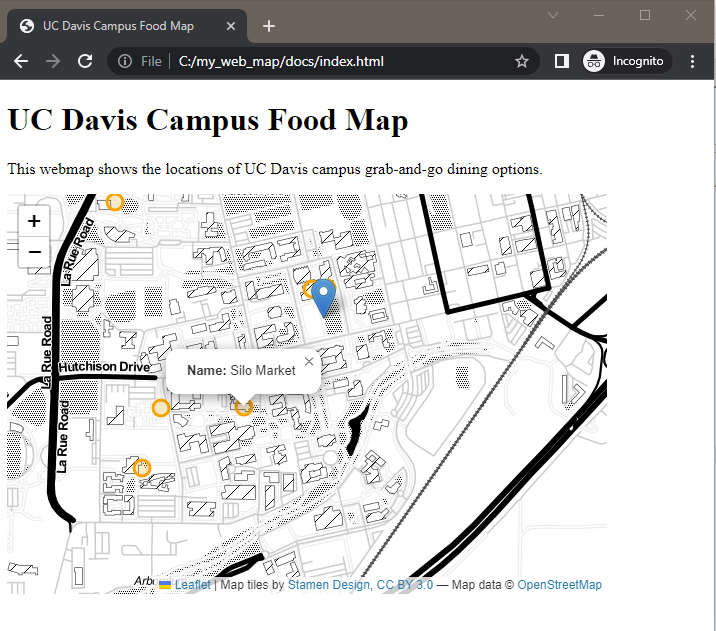
Maybe we want to indicate that the text in the popup is the name of the location. We can concatenate (paste together) some text with HTML styling with our code to get the location names: "<b>Name: </b>" + feature.properties.Name
    //add food points from the GeoJSON (campus_food.js) file

    var foodpoints = L.geoJSON(campus_food, {
        pointToLayer: function(feature, latlng){
            return L.circleMarker(latlng, {color: 'orange', radius: 8});
        },
        onEachFeature: function(feature, layer){
            layer.bindPopup("<b>Name: </b>" + feature.properties.Name);
        }
    }).addTo(foodmap);
Our popups are starting to be much more useful!
7.4 Add a description to the popup
Ready to get a little more complex? Let’s add a description of the location. We can use <br> to create a line break and put text onto a new line: "<b>Name: </b>" + feature.properties.Name + "<br><b>Description: </b>"+ feature.properties.description This gets harder to read the longer it gets, so sometimes it helps to write the HTML pieces on separate lines, and once you’re ready to run it, put all the text onto one line. The text portion of our popup text needs to be wrapped in quotation marks but the calls for the data should not be.
    //add food points from the GeoJSON (campus_food.js) file

    var foodpoints = L.geoJSON(campus_food, {
        pointToLayer: function(feature, latlng){
            return L.circleMarker(latlng, {color: 'orange', radius: 8});
        },
        onEachFeature: function(feature, layer){
            layer.bindPopup("<b>Name: </b>" + feature.properties.Name + "<br><b>Description: </b>"+ feature.properties.description);
        }
    }).addTo(foodmap);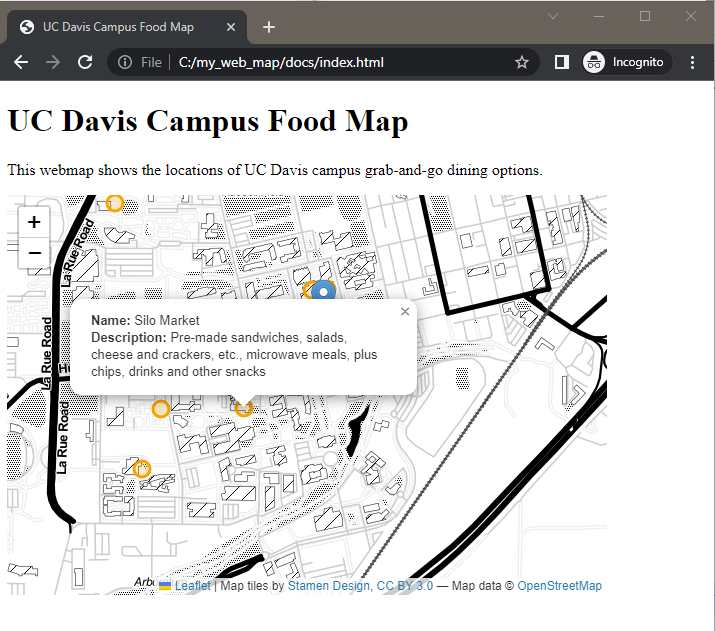
7.5 Add an image to the popup
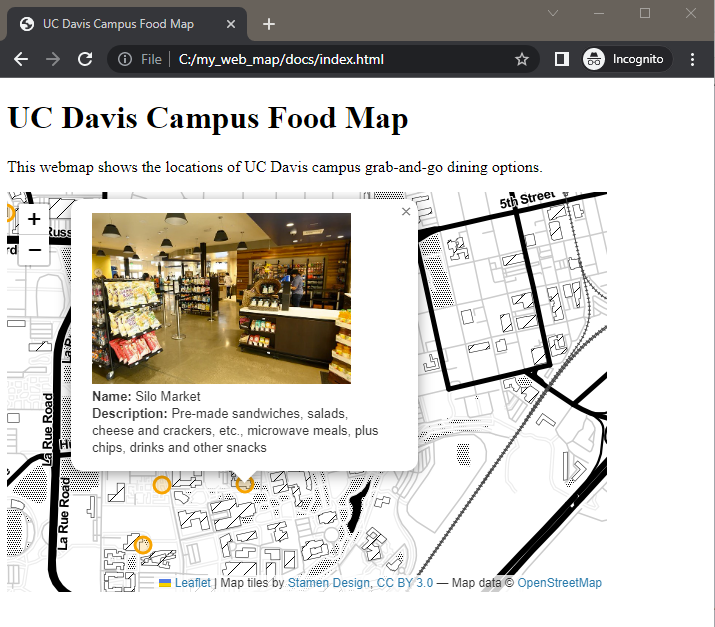
In our data, we have a column that has a link to a picture of each location. Let’s put the picture at the top of the popup. The <img> tag will add an image to our popup. Because our images are stored as relative paths instead of hosted somewhere online, we get the image name stored with each food location in the geojson and use it to point to the image name in the img folder that is saved in the docs folder:
"<img src='images/"+feature.properties.img_name +"' width='259'><br><b>Name: </b>" + feature.properties.Name + "<br><b>Description: </b>"+ feature.properties.description
Here’s what the section of our code that adds the foodpoints marker should now look like:
    //add food points from the GeoJSON (campus_food.js) file

    var foodpoints = L.geoJSON(campus_food, {
        pointToLayer: function(feature, latlng){
            return L.circleMarker(latlng, {color: 'orange', radius: 8});
        },
        onEachFeature: function(feature, layer){
            layer.bindPopup(
                "<img src='img/" + feature.properties.img_name + "' width='259'/><br><b>Name: </b>" + feature.properties.Name + "<br><b>Description: </b>"+ feature.properties.description);
        }
    }).addTo(foodmap);
And here is our web map:
CHECK YOUR WORK: Compare your code with example code up to this point in the workshop.