2 Preparation
Before we can start drawing, we need to do a few steps to prepare:
2.1 Envision Your Map
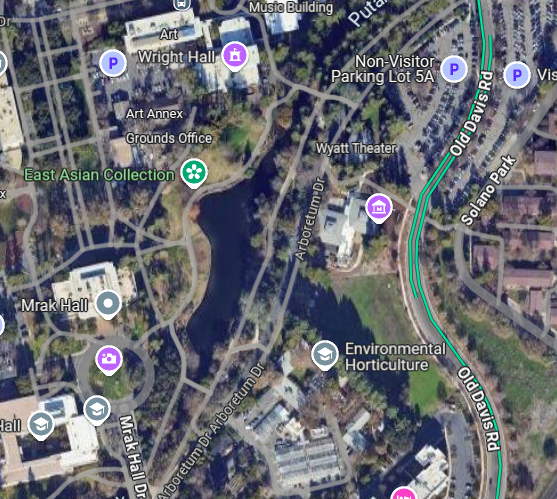
What area do we plan to make a map of? For the text and examples in this workshop, we’ll make a map of Lake Spafford in the UC Davis Arboretum near Mrak Hall. You could choose any area you like.
How much area do we want to include (scale)? For this example, we’ll keep it fairly limited - we’ll just include Lake Spafford and the area immediately around it.
What is the goal of the map? What do we want the reader to learn from it? For this example, let’s convey where Lake Spafford is situated, including the paths to get to there, buildings nearby, and the tree cover.
What is the perspective of your map? Are you looking straight down (nadir) or are you looking at an angle (oblique)?
2.2 Gather Reference Material
2.2.1 Maps for Reference

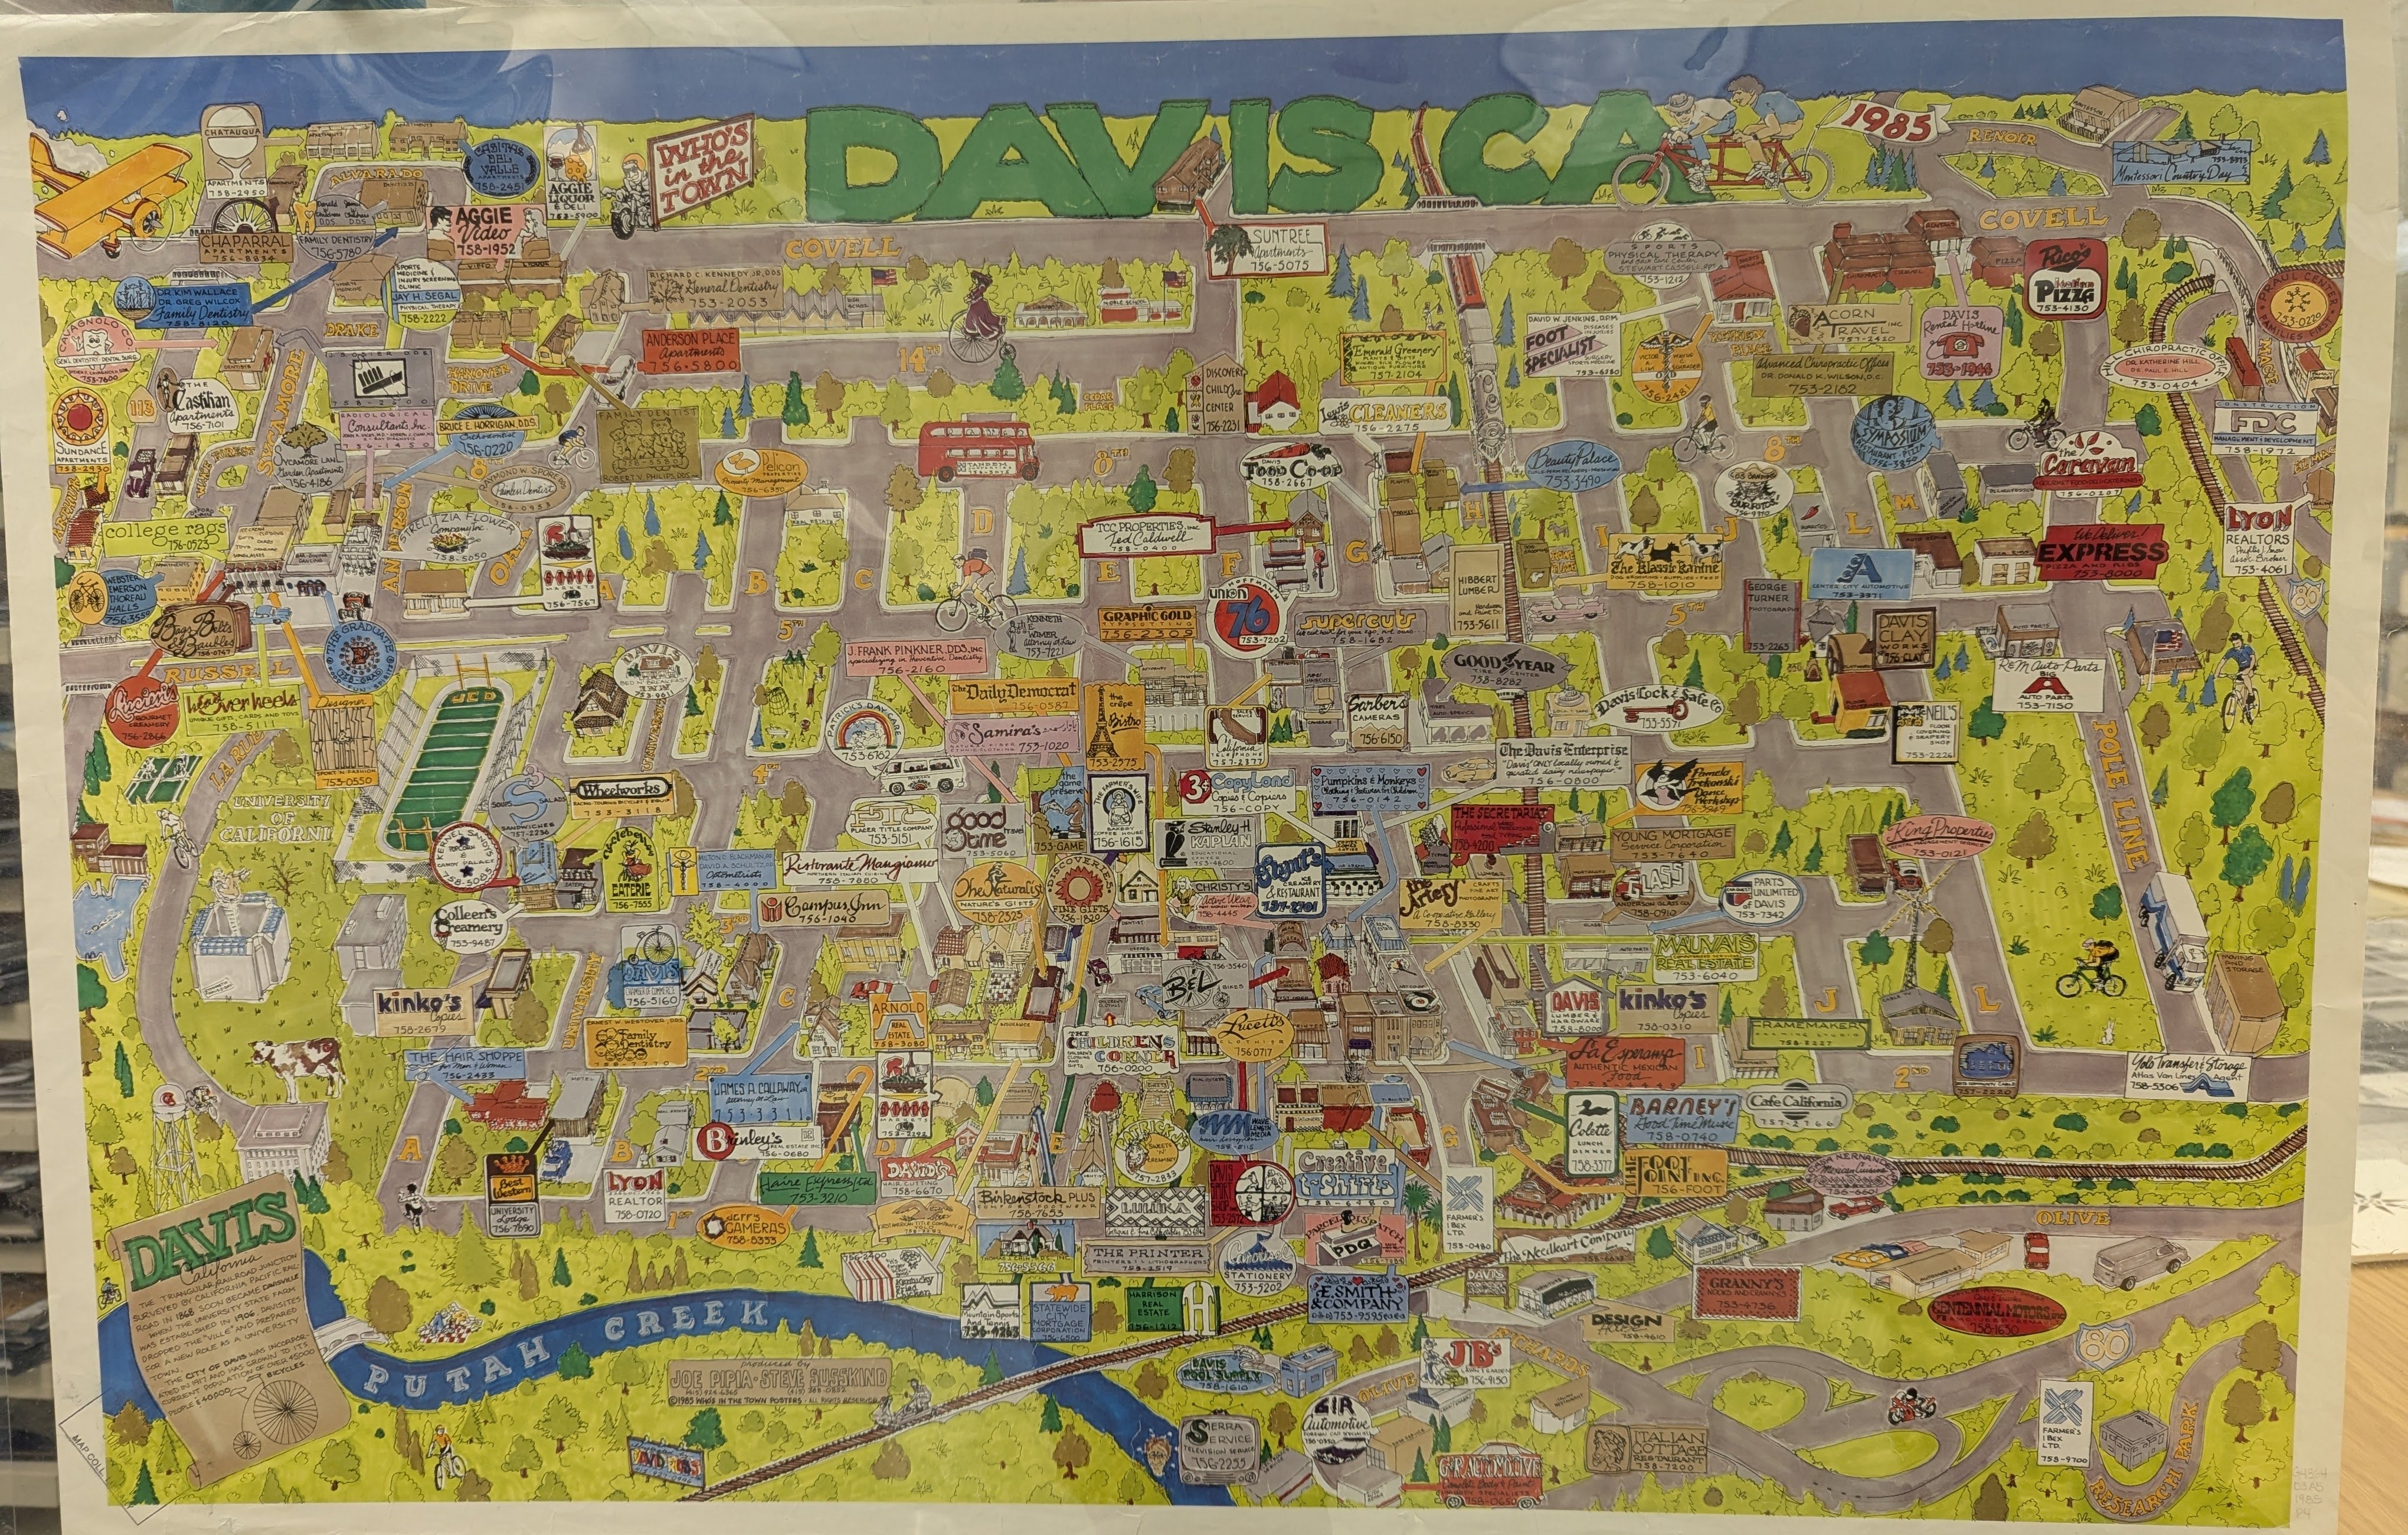
Early cartographers often copied work from other finished maps. We’ll follow this tradition. For our map, it’s fairly easy to use online maps like Google Maps. You could also reference the official online UC Davis Campus Map or a printed version of it. If you wanted to work on a version of this map that showed a historical point in time, you would want to reference older versions of the print campus map or aerial photographs. Some of these materials can be found in the UC Davis Library’s Map Collection.
2.2.2 Icons & Style References
Collect some materials to help provide inspiration. These materials could be work you admire from other cartographers or artists, colors you like, or visual textures you might use.


2.3 Gather Drawing Materials
We’ll need a few art supplies to get started:
- 2 Sheets of Paper (printer paper or notebook paper is fine)
- A pencil
- A sharpener if you’re using a wood pencil
- An eraser
- Pens (optional)
- Coloring materials like colored pencils, markers, or crayons (optional)
If you don’t have all of these things, just improvise. Remember that our goal is to learn a workflow and technique, not to be perfect.
If you’re heading to the UC Davis Bookstore to pick up supplies and want to splurge a little on higher quality materials but not break the bank, DataLab’s Michele Tobias recommends the following:
Pencils: #2 (HB) are easy to erase. Dixon’s Ticonderoga Black Pencils are worth the splurge ($6 for a pack of 12 vs. $3 for regular pencils) if you use wood pencils a lot. The graphite doesn’t have grit or rocks in it the way cheaper pencils do.
Eraser: Arch Foam Erasers don’t leave marks the way pink erasers can and they don’t tear up the page.
Pens: Pilot Precise Rolling Ball pens come in a couple of widths (0.5 and 0.7 mm), are consistent in their quality, and are easy to find. Uni-Ball makes similar pens. For thicker lines, PaperMate’s Flair pens are an affordable choice.
Paper: A good quality sketch pad is helpful when you’re ready to make art that you want to keep because the pages won’t warp with the moisture in your hand and the paper can be archival quality.