4 Pencil Sketch Your Map
4.1 Set Up Your Page
Letter sized paper is a common resource, and it’s probably what you’re working with today. That’s a pretty big area, so let’s not use the whole thing.
In the middle of your page, mark out a rectangle that’s about a quarter of the size of the page. In this example, I’ve folded up a page into quarters to use as a template to trace out a smaller area. I placed my folded paper in the middle of the page I plan to draw on and traced my folded paper to mark out where I wanted to draw. I’ll leave the area outside this rectangle blank.
4.2 Priorities for Drawing
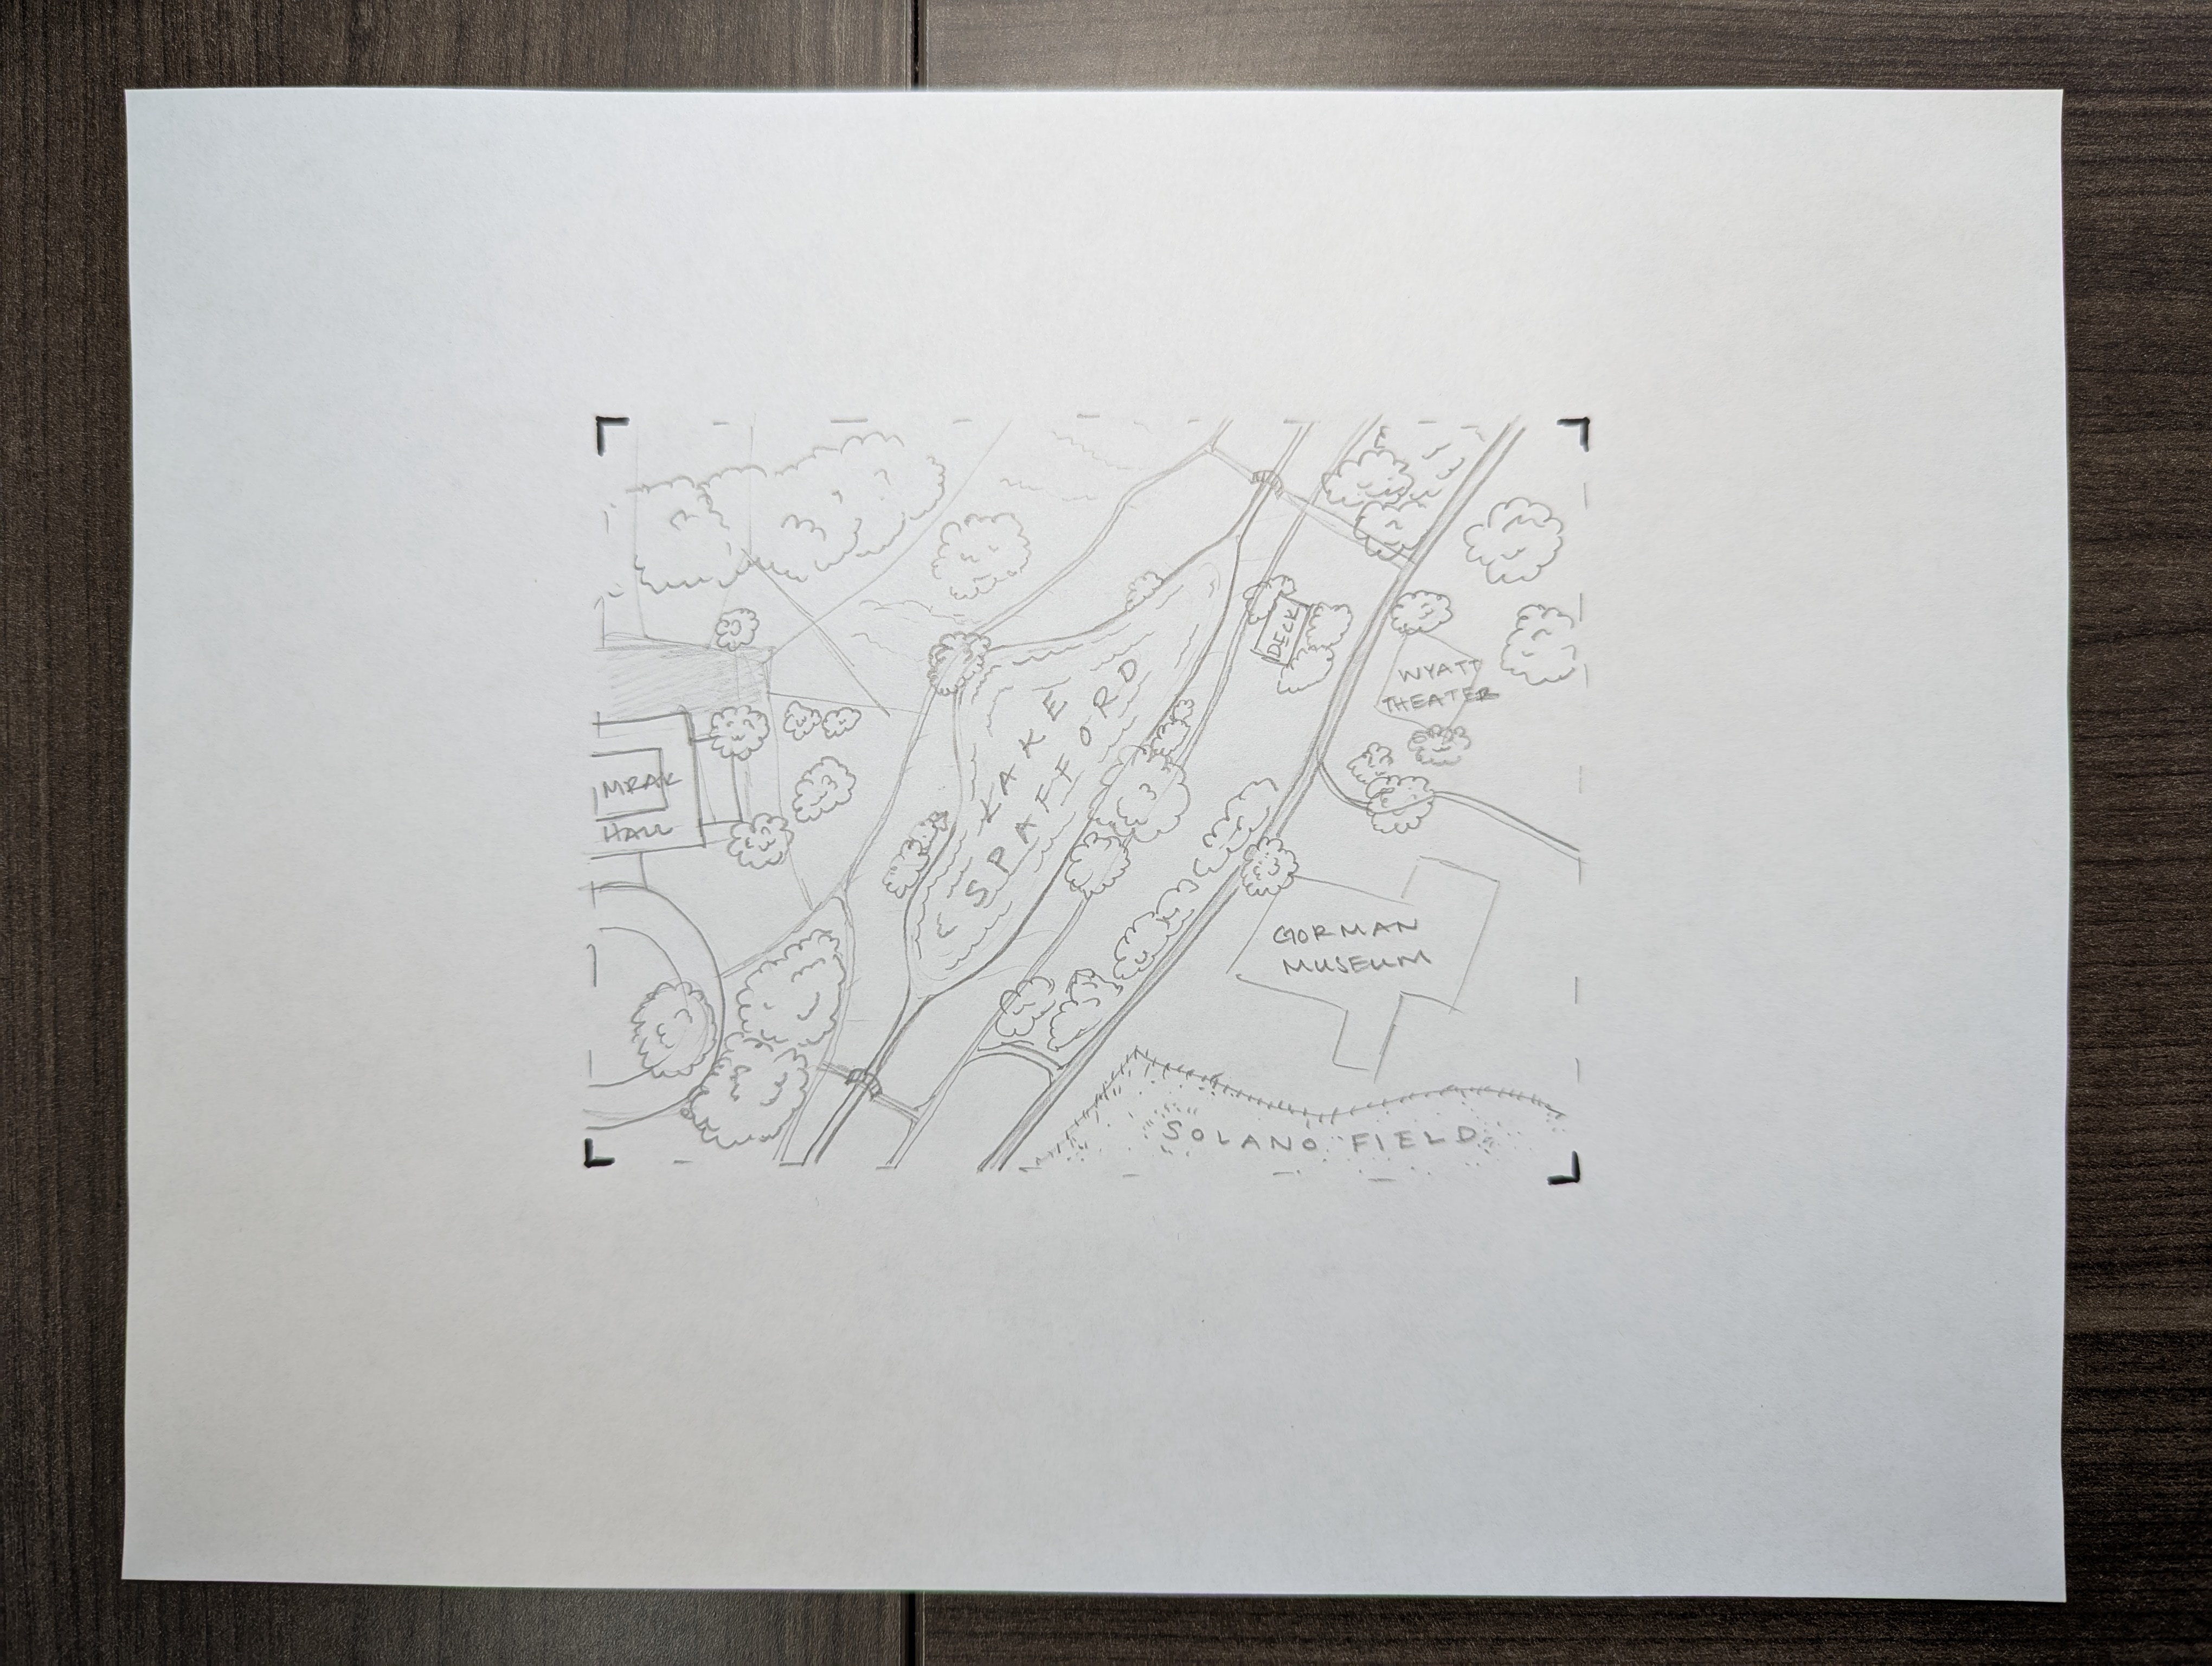
Start sketching in the most important items. Typically these are the features that form the foundations of the map - things like shorelines, boundaries, major roads, or buildings.
For our map, let’s draw features in this order:
- Lake Spafford
- Buildings
- Roads and Paths
- Trees
- Bridges
- Text (optional)
4.3 Draw Features
Using the icon set you practiced drawing earlier, begin adding features to your map.
Take it one item at a time. Do not worry about being overly precise in locating features. For example, maybe your Lake Spafford is not exactly the same shape you see in your reference materials. Do not stress. Approximate the shape and move on. If something really needs adjusting, simply erase and try again.
Later, you could experiment with a light box or printing a reference map lightly on your page to draw over if you want precision.