7 Merging Remote Branches
Clicking on the hyperlink will take you directly to the issue you created. From here, we’re at a crossroads. We could go ahead and implement our changes on the main branch (more about that in a minute) and close out the issue. But there are a lot of participants in the workshop, and all those branches will be a headache to merge seamlessly into main. What we’ll do, then, is implement our changes on only one other remote branch, leaving the main one alone for now.
7.1 A Quick Change of Plans
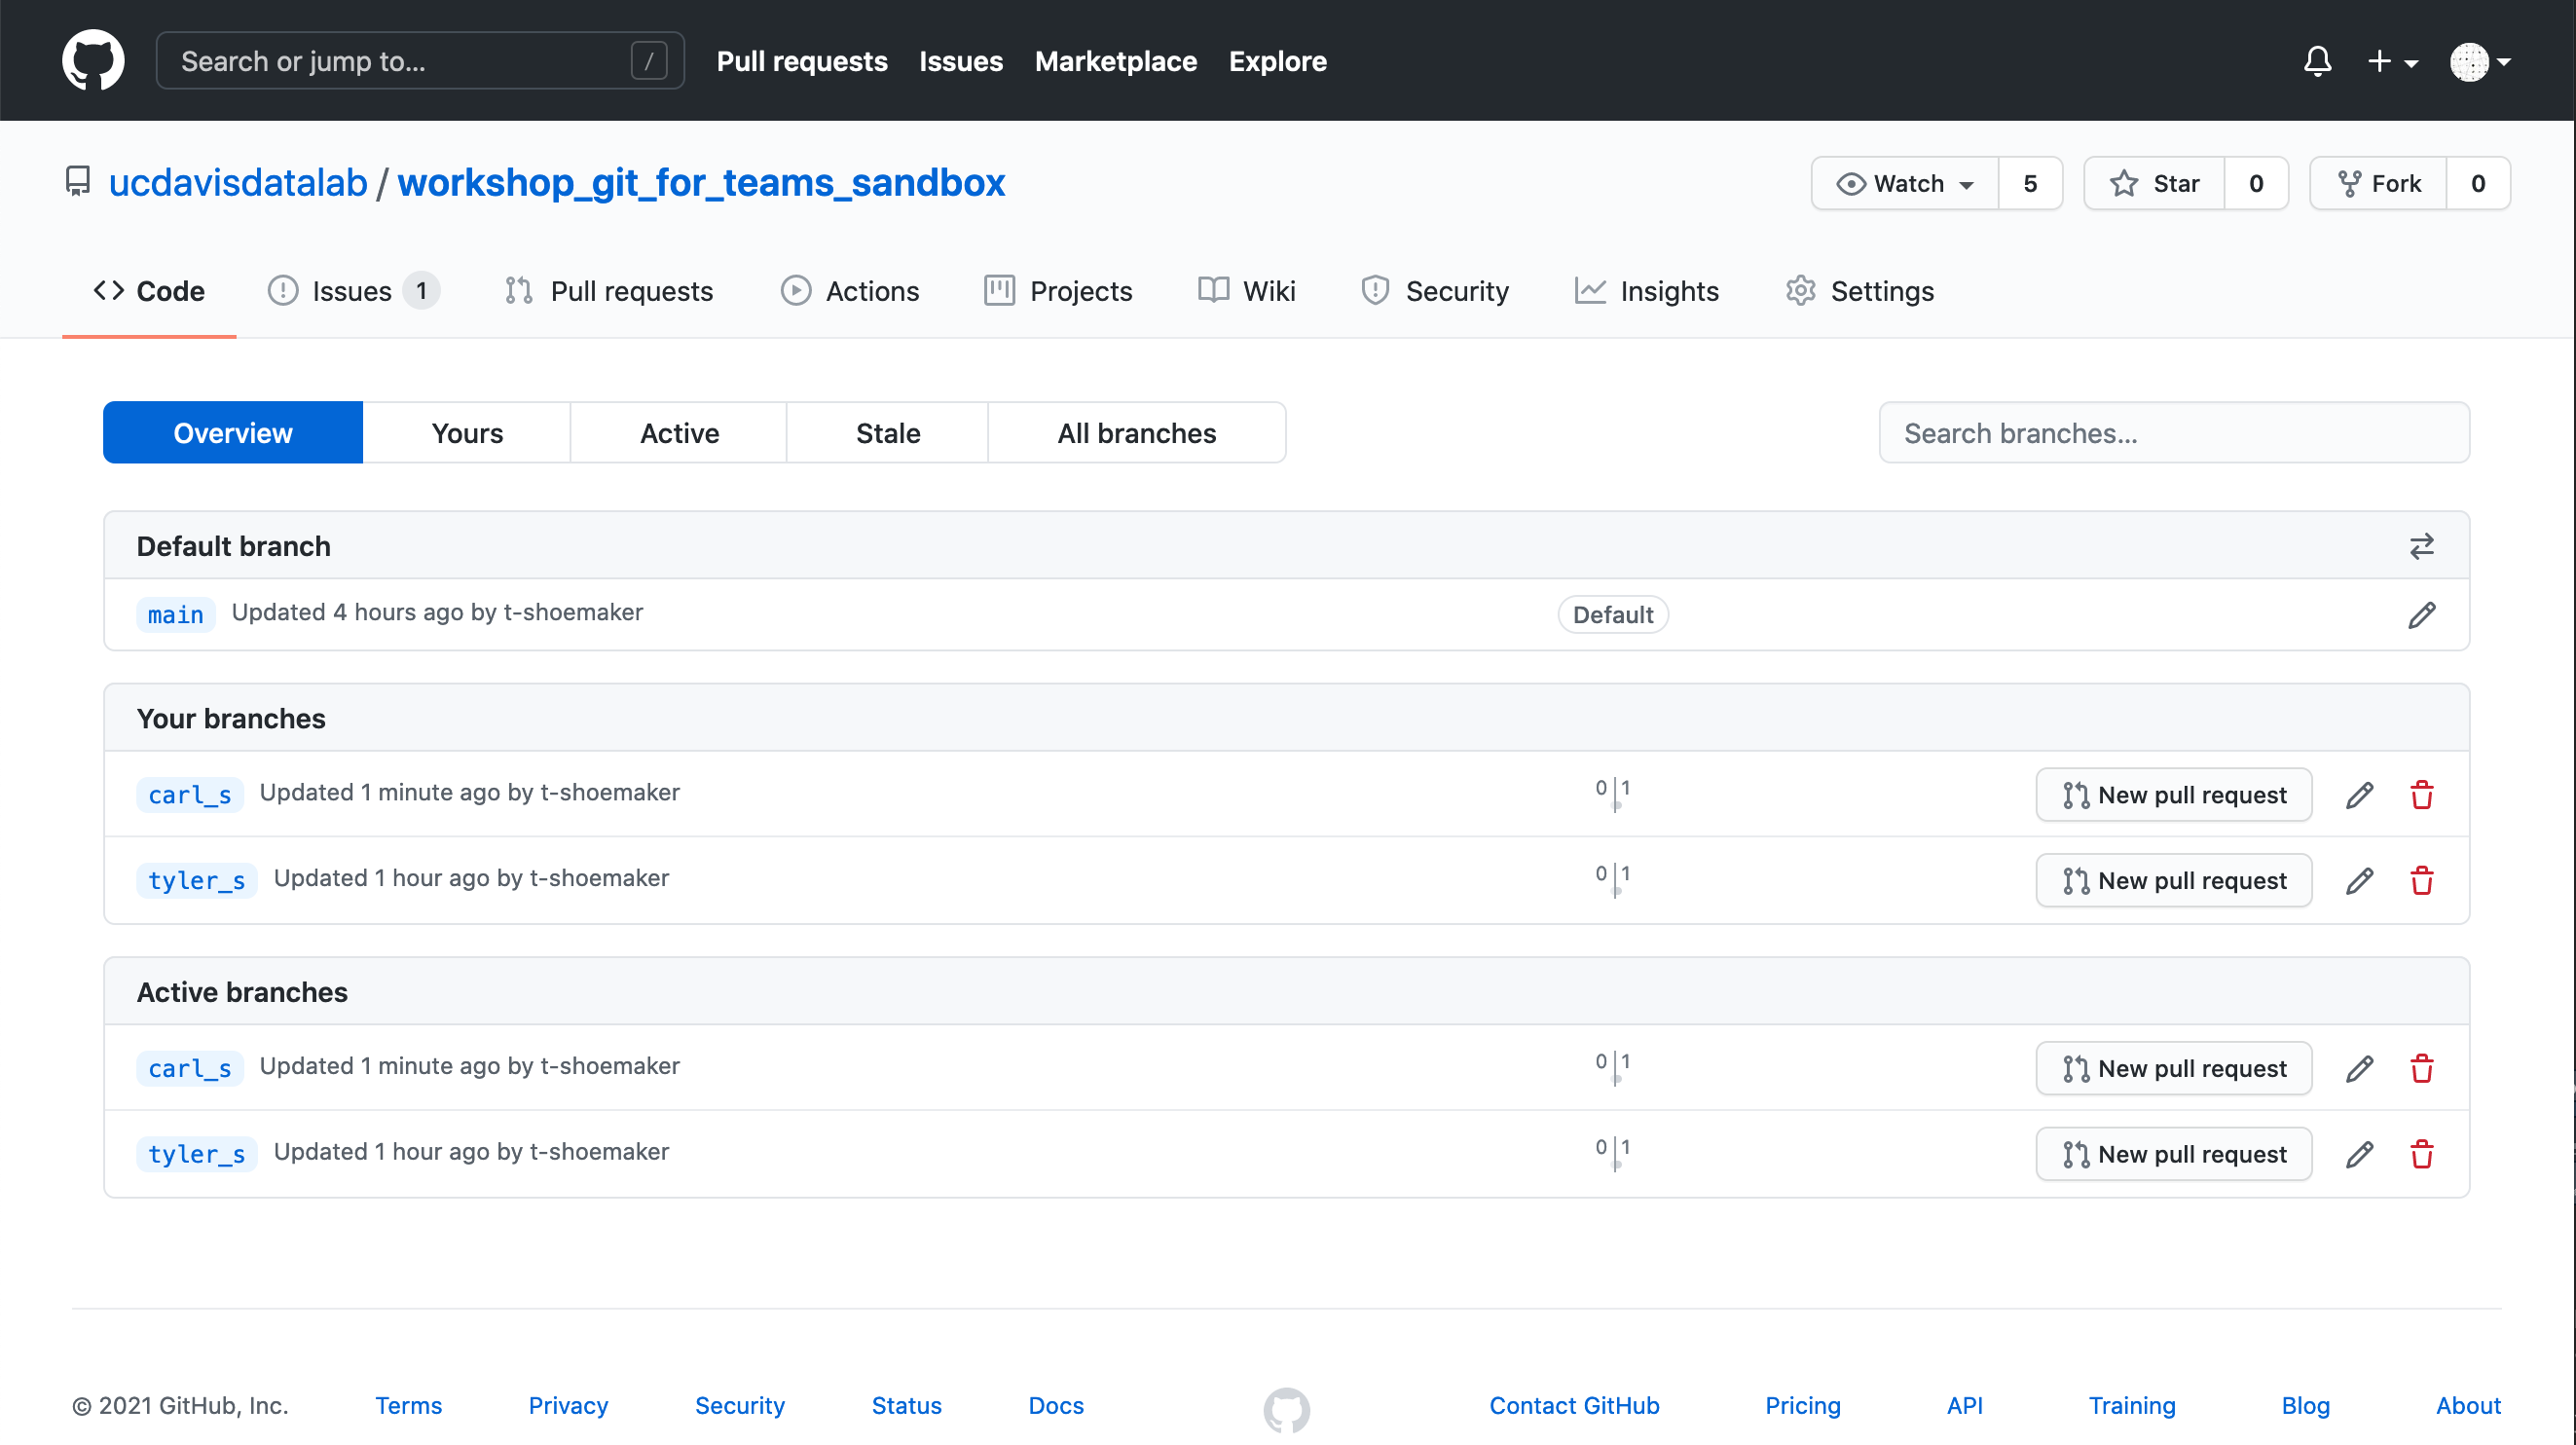
First, on the “branches” page, find another branch with which to merge your own. You should select a branch made by another workshop participant.
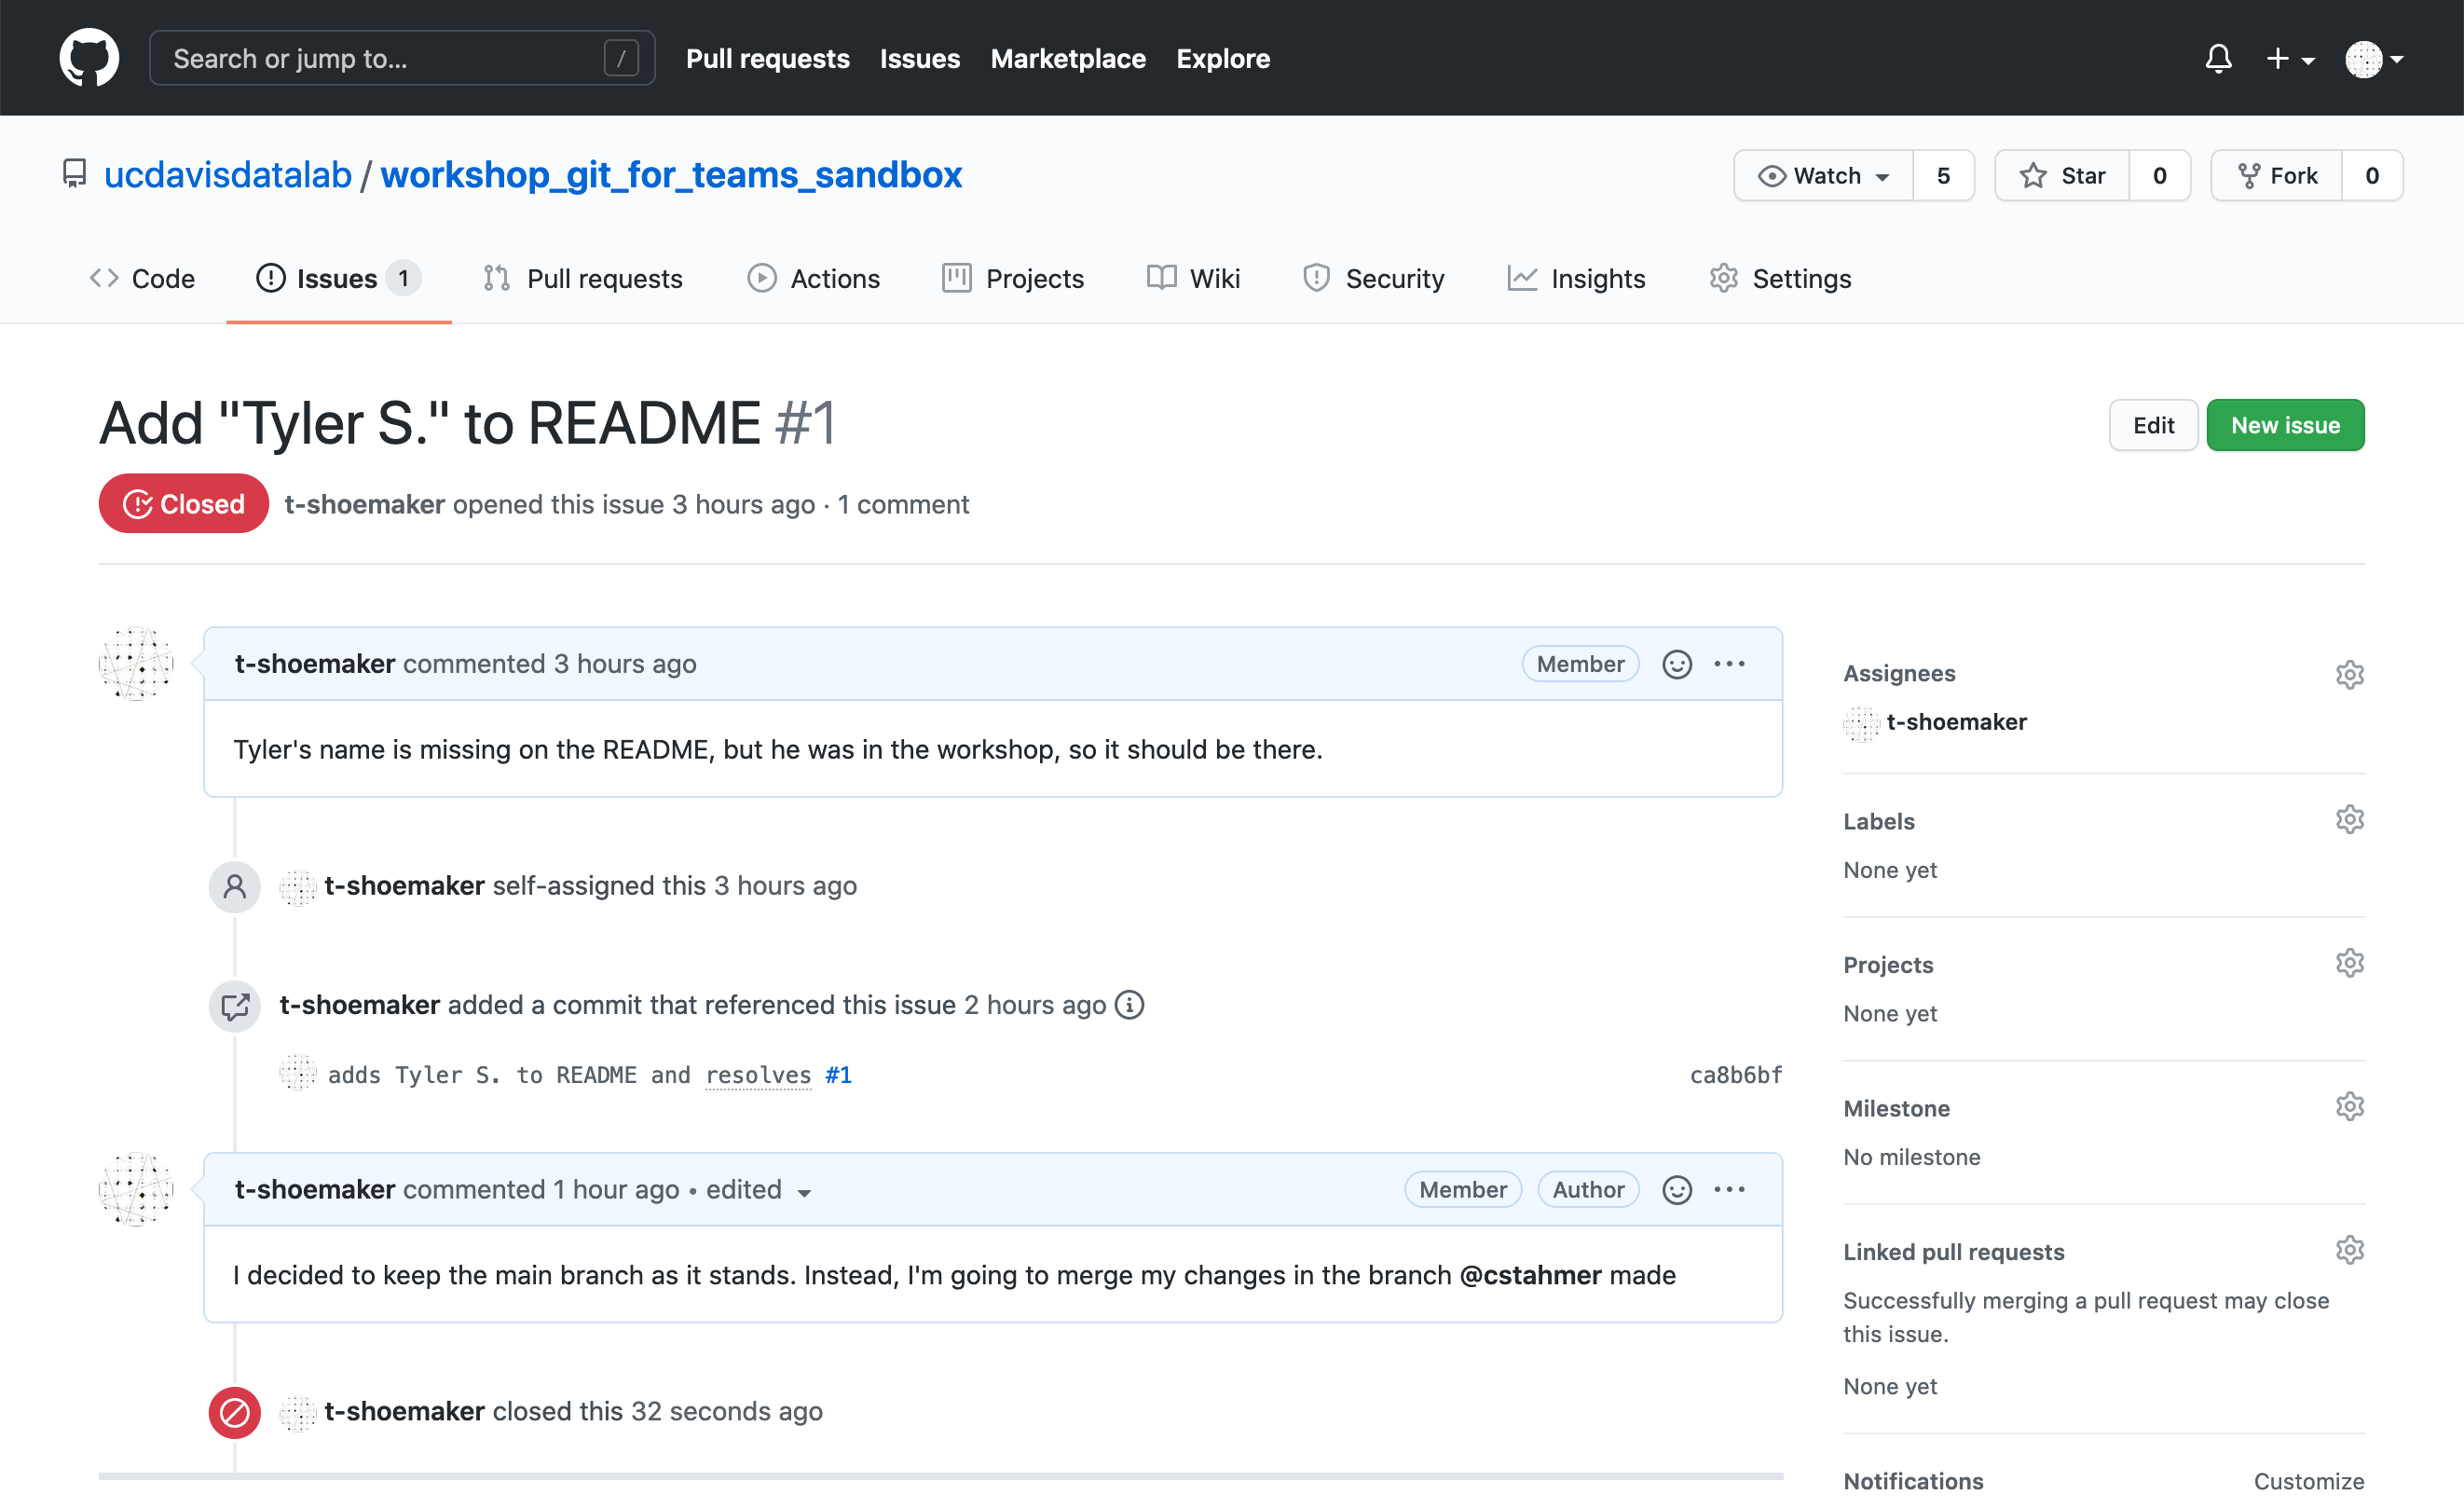
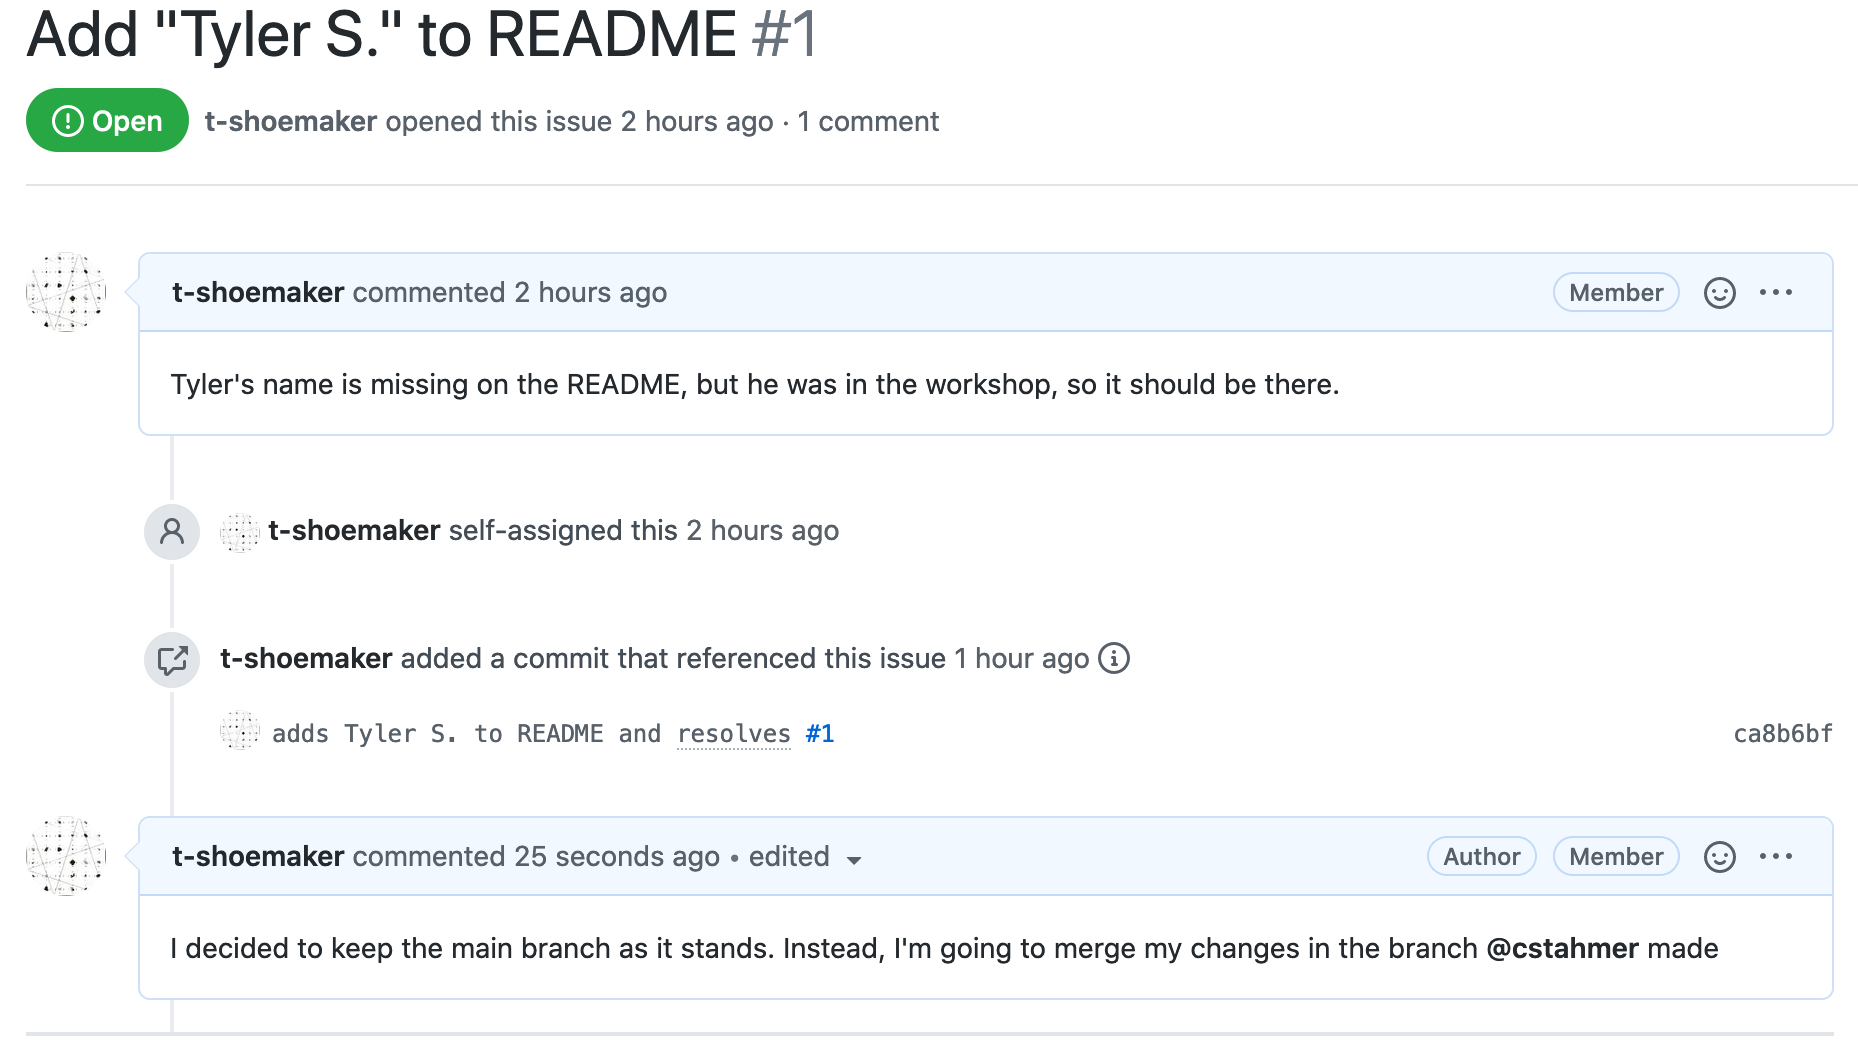
When you’ve decided on a branch, go to your issue and, in a comment, explain your change of plans. Tag the person whose branch you’ll be merging with using “@”. Click the green “Comment” button.
In a real-world project, you might also edit the title of your issue to reflect your changes, but for now, you can leave it as is.
7.2 Tracking a Remote Branch
Now it’s time to make a copy of the remote branch on your local computer. You
can find the branch on the command line with git branch -a (it’ll be in red
text). If you don’t see extra branches listed when you enter this command, run
git fetch and try again.
There are a few ways to get the branch itself. Newer versions of Git use:
$ git switch <remote-branch>
Branch '<remote-branch>' set up to track remote branch '<remote-branch>' from 'origin'.
Switched to a new branch '<remote-branch>'
If you have an older version of Git on your computer, you’ll need to use a checkout:
$ git checkout <remote-branch>
Branch '<remote-branch>' set up to track remote branch '<remote-branch>' from 'origin'.
Switched to a new branch '<remote-branch>'
In either case, Git will pull down a local copy of a remote branch and begin tracking it.
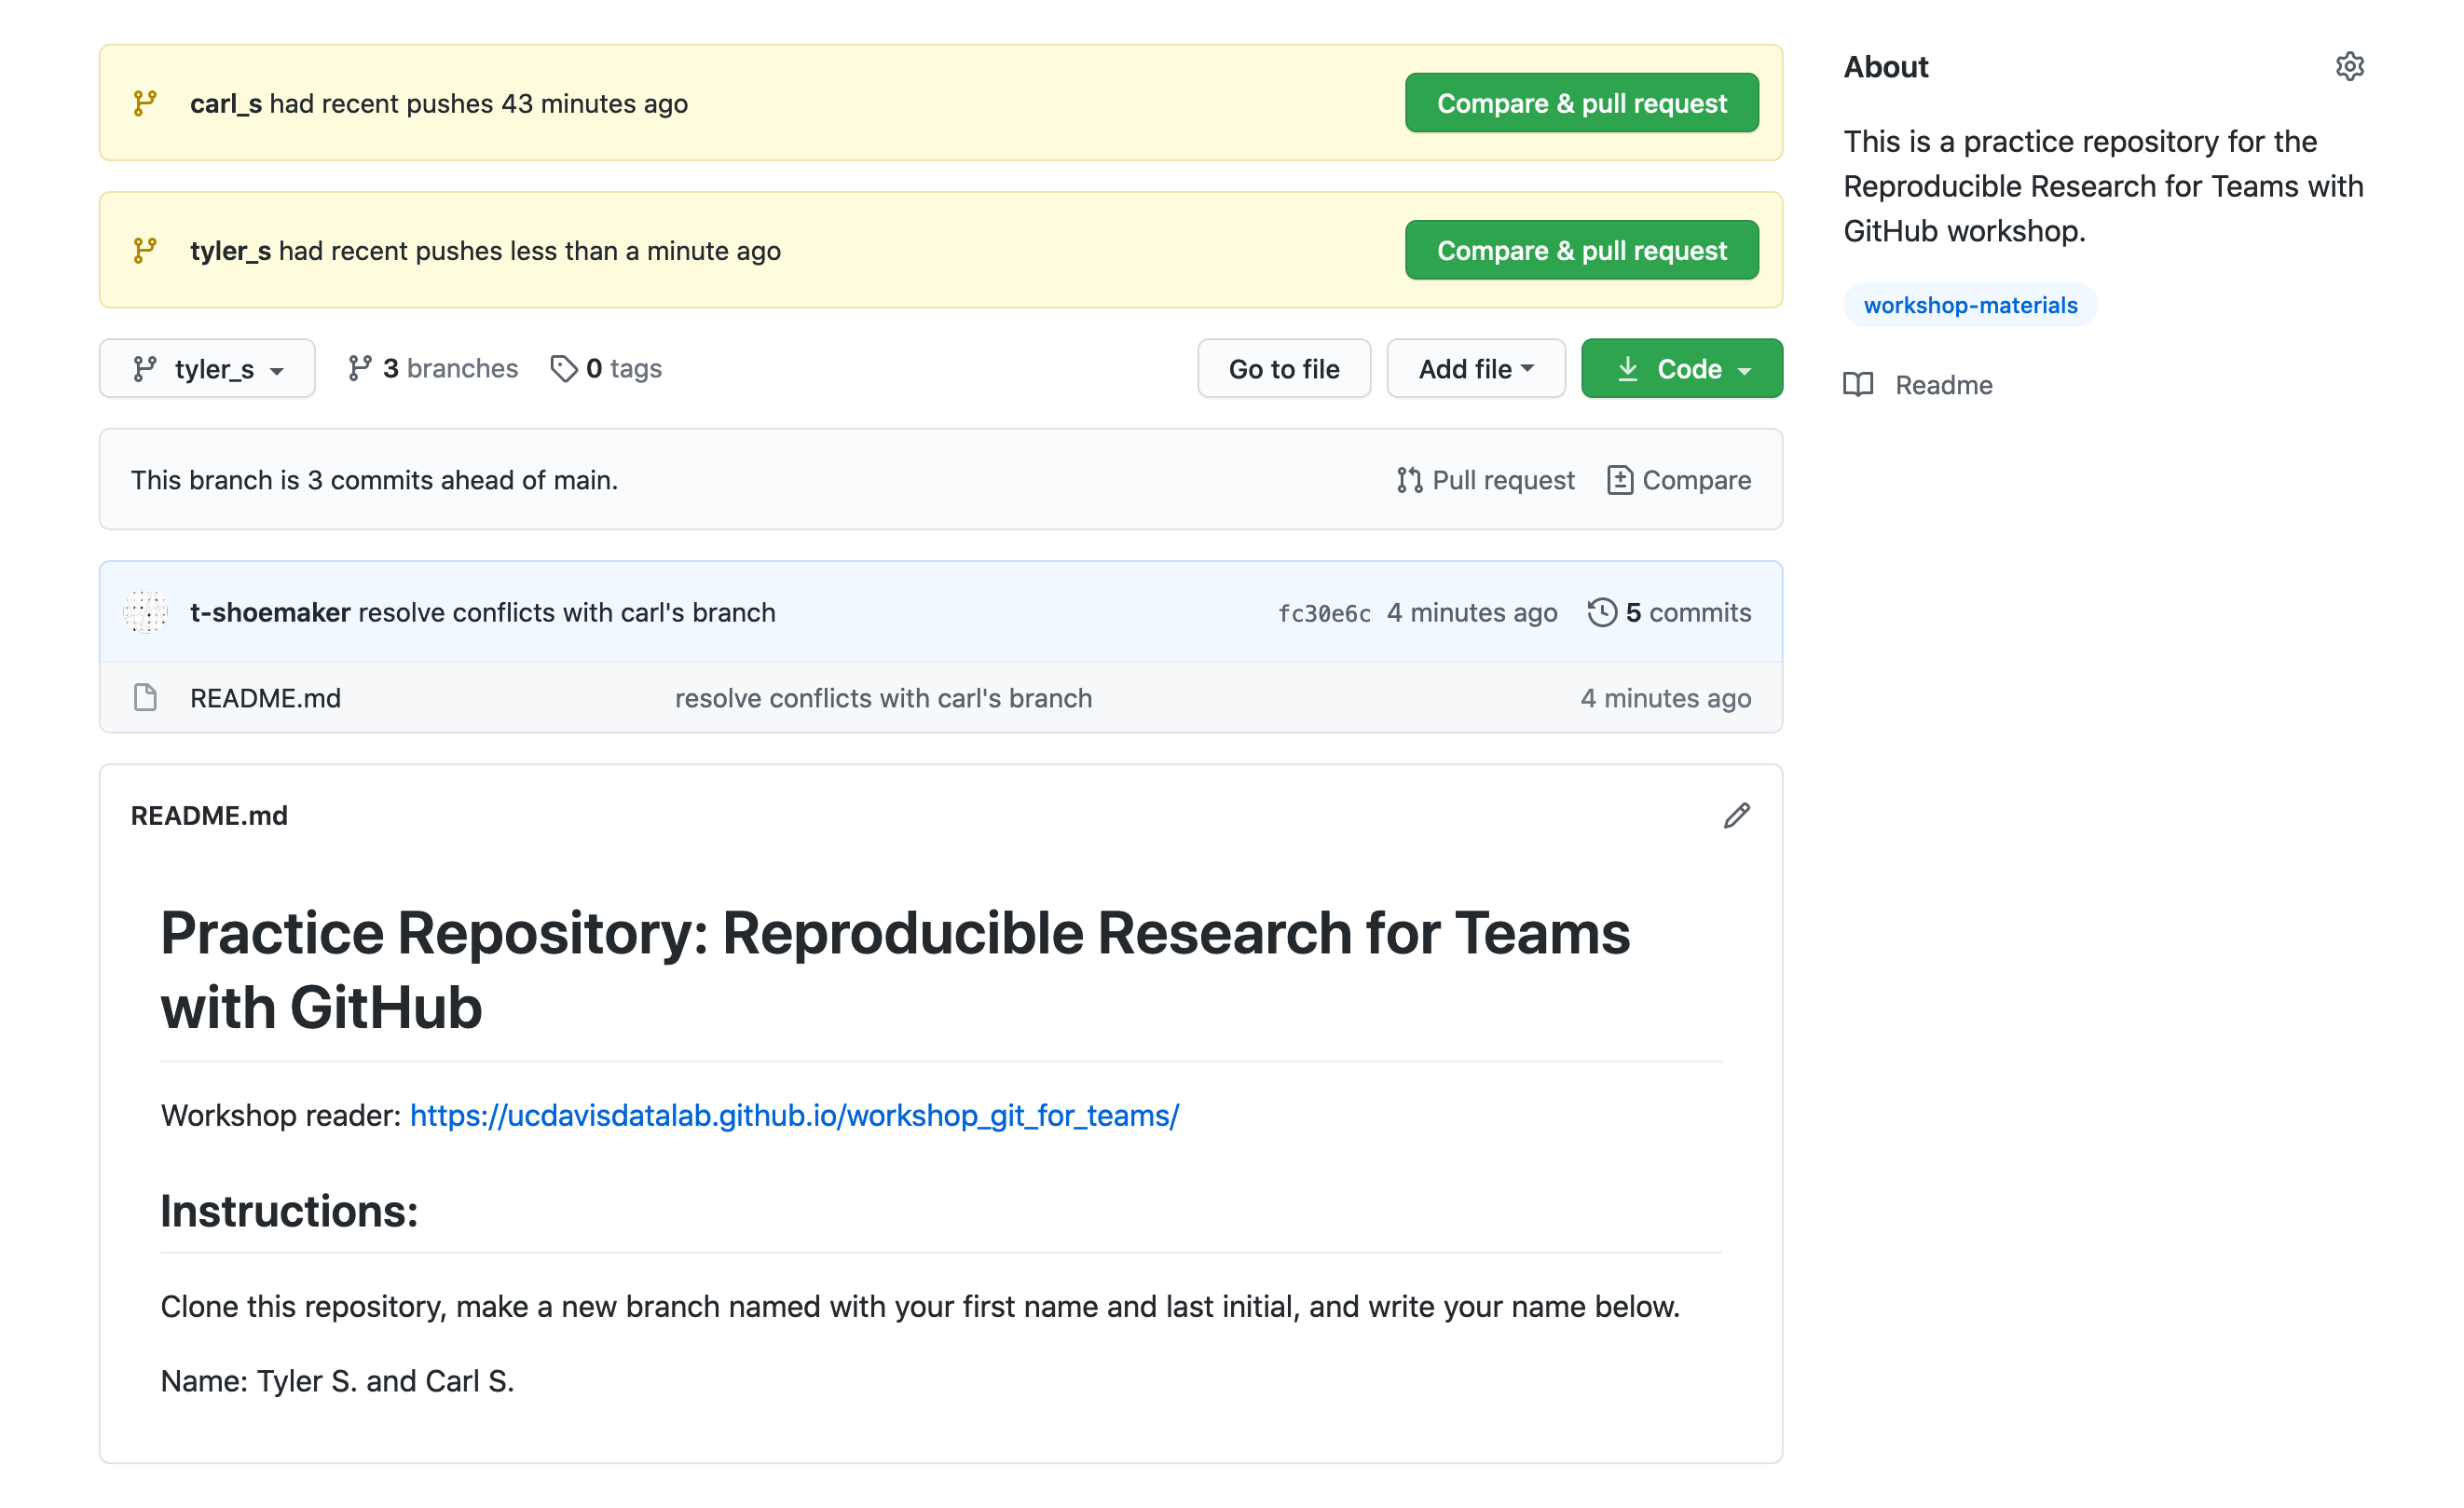
Now, if you open the README.md file, you’ll find that your name has
disappeared and the other person’s name is there instead. With that, you should
now have three branches on your local machine: the main branch, the one you
created, and the branch you’ve just fetched from GitHub.
7.3 Merging Branches
From here, we can merge branches as we normally would. Switch to your own branch:
$ git checkout <first-name_last-initial>
Switched to branch '<first-name_last-initial>'
Your branch is up to date with 'origin/<first-name_last-initial>'.
Now, try merge the other branch into your own. You should see an error.
$ git merge <other-branch>
Auto-merging README.md
CONFLICT (content): Merge conflict in README.md
Automatic merge failed; fix conflicts and then commit the result.
This is because both you and the other person have put your names on the same
line. If you open README.md with Vim, or simply cat to screen, you’ll see
where the problem is:
$ cat README.md
Practice Repository: Reproducible Research for Teams with GitHub
================================================================

Workshop reader: https://ucdavisdatalab.github.io/workshop_git_for_teams/

Instructions:
-------------

Clone this repository, make a new branch named with your first name and last initial
(e.g. `first-name_last-initial`) and write your name below.

<<<<<<< HEAD
Name: <your name>

=======
Name: <other person's name>
>>>>>>> <other-branch>
Fix this conflict by deleting the conflict markers (everything between the
<<<<<<< and >>>>>>> marks) and the other person’s changes. Add their name
after your own. The file should now look like this:
$ cat README.md
Practice Repository: Reproducible Research for Teams with GitHub
================================================================

Workshop reader: https://ucdavisdatalab.github.io/workshop_git_for_teams/

Instructions:
-------------

Clone this repository, make a new branch named with your first name and last initial
(e.g. `first-name_last-initial`) and write your name below.

Name: <your name>, <other person's name>
Save and quit Vim. Then, add README.md to your staging area and commit your
changes. Your command line should look something like this when you’re done:
$ git add README.md
$ git commit -m "resolve conflicts with <other person's> branch"
[<first-name_last-initial> 1d00b8f] resolve conflicts with <other person's> branch
If you type git status, you’ll see that your local repository is now ahead of
the remote one.
$ git status
On branch <first-name_last-initial>
Your branch is ahead of 'origin/<first-name_last-initial>' by 1 commit.
  (use "git push" to publish your local commits)

nothing to commit, working tree clean
Go ahead and push your changes. If you go back to GitHub, you should now see
the modified README file rendered to the page.