3 Setting Up a GitHub Account
3.1 Basic GitHub Account Setup
To use GitHub, you need to make a (free) account. You can do so by going to github.com. Once you’re there, click “Sign Up” in the top-right corner of the page. This should take you to a form, which asks you to enter a username, email address, and password. After you’ve entered in this information (and completed a quick CAPTCHA), GitHub will make you an account. Then, the site will prompt you to complete an optional survey. Fill it out, or scroll to the bottom to skip it.
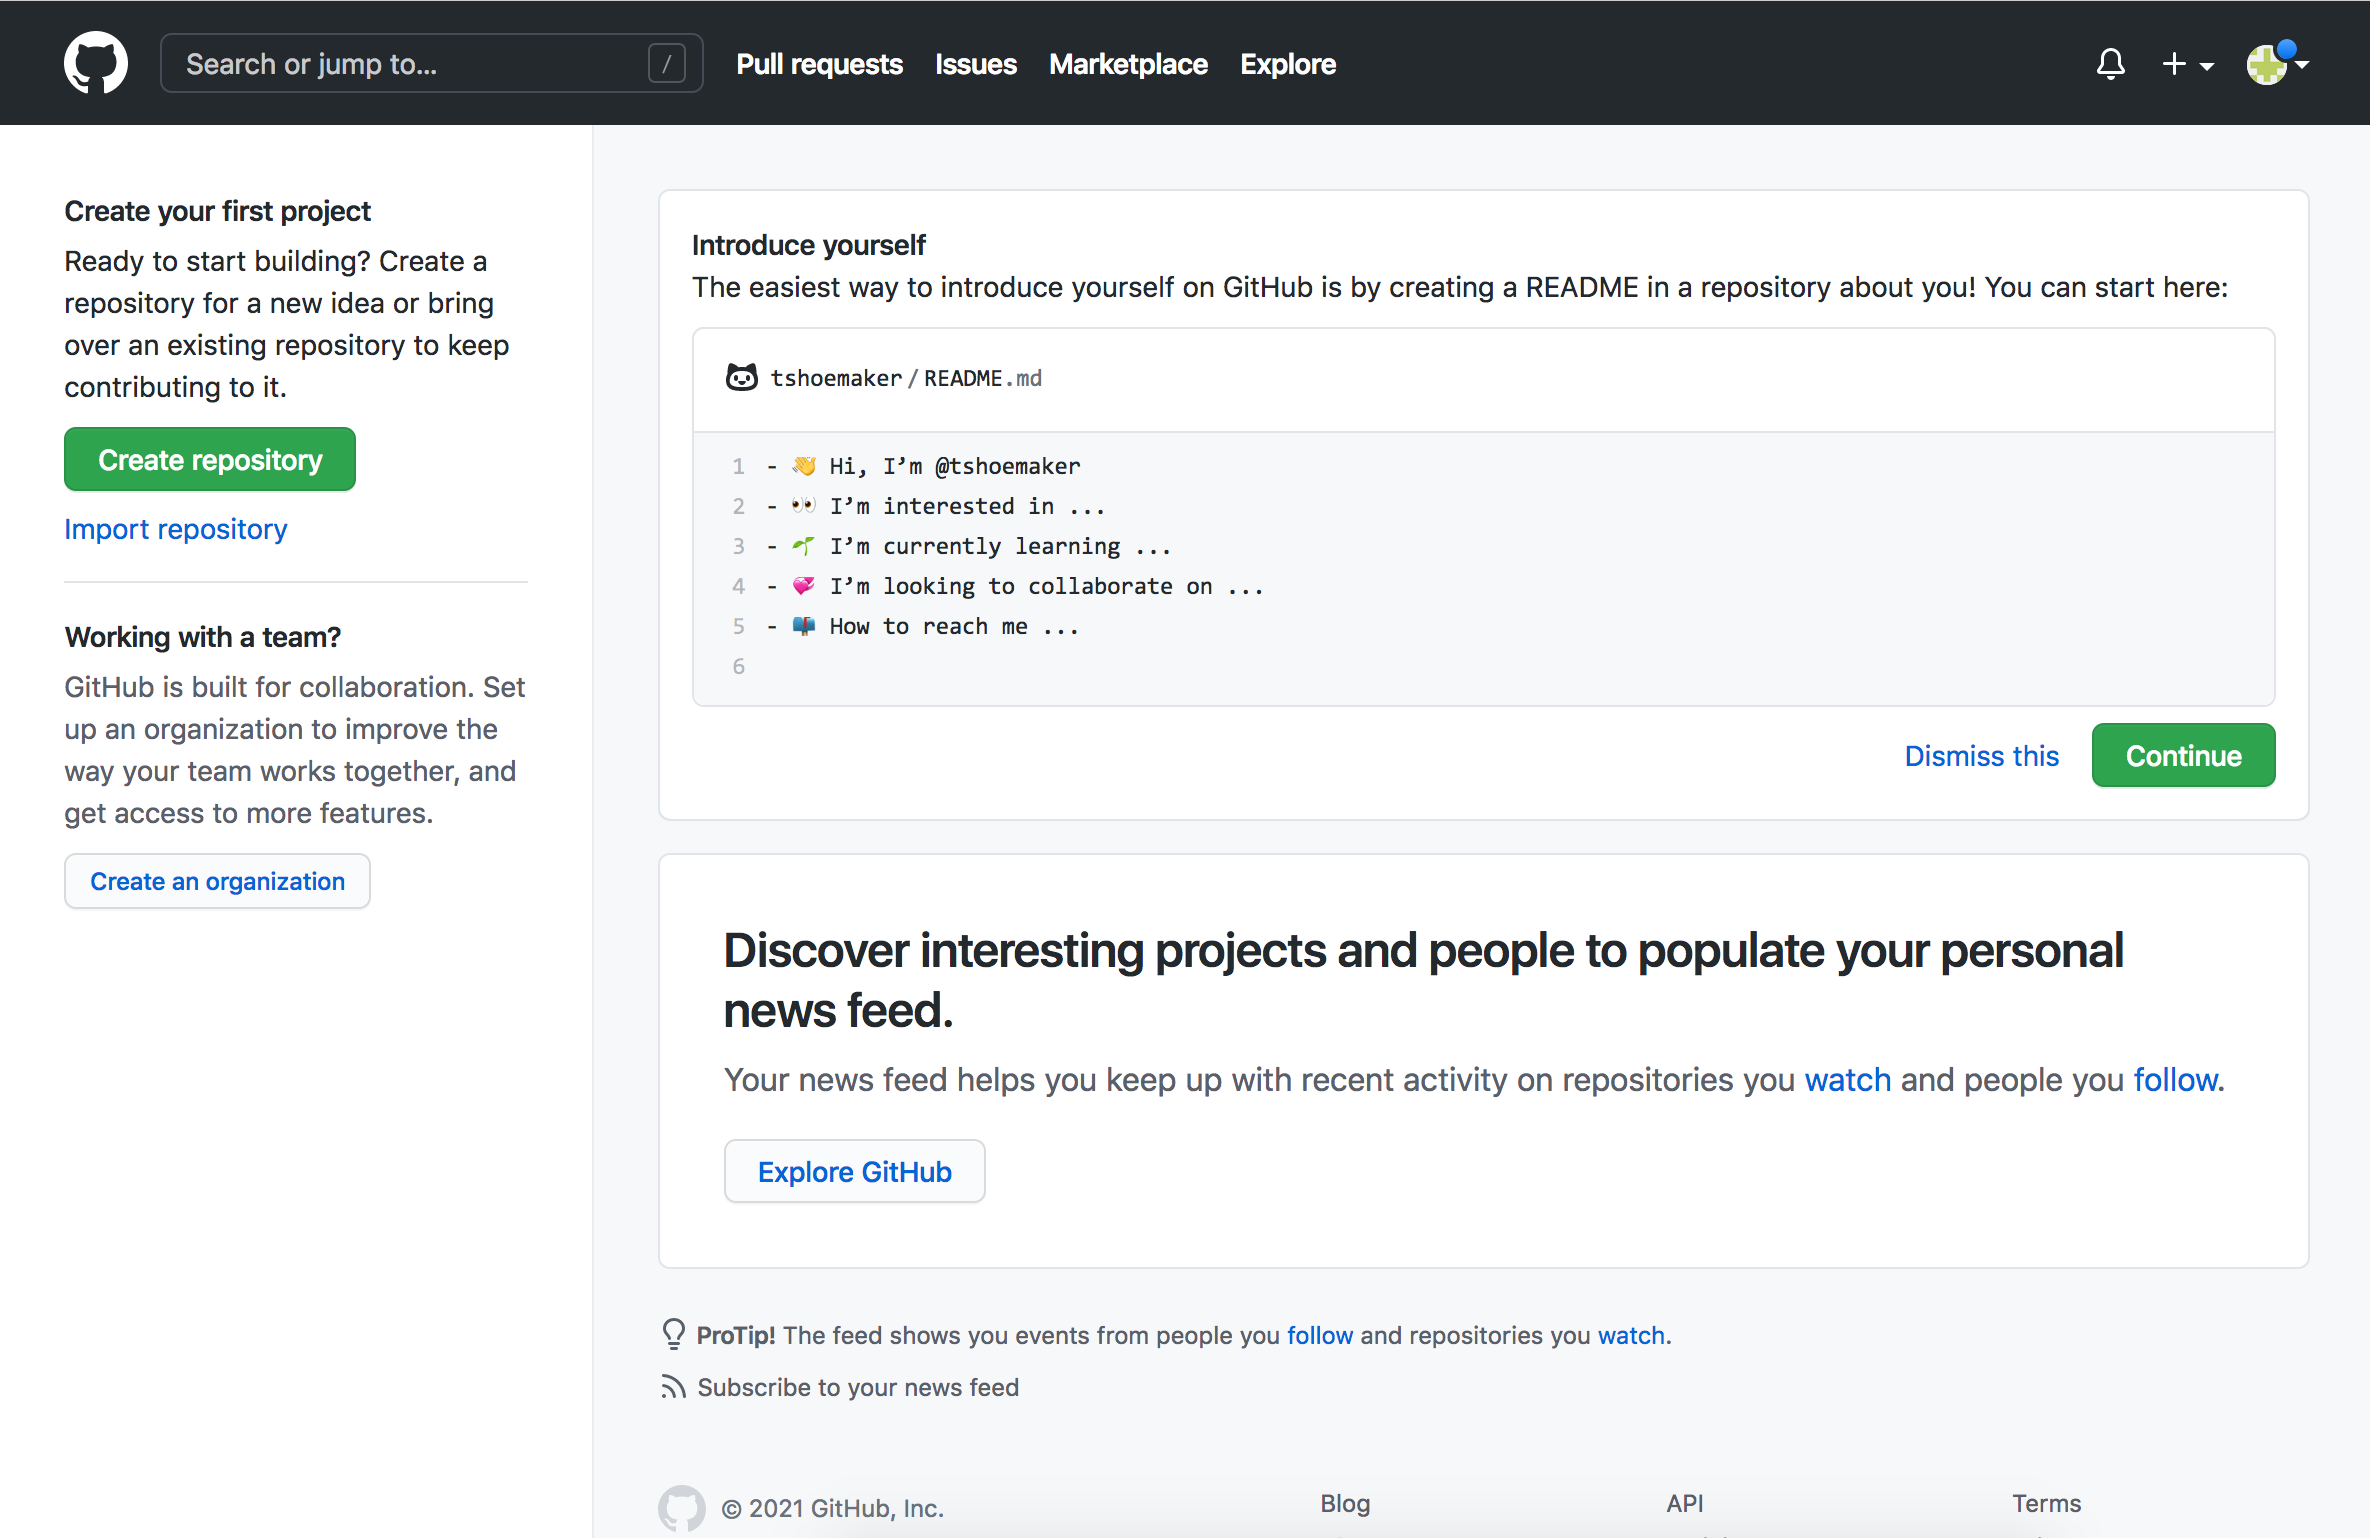
Either way, you’ll need to then verify your email address. Go to your inbox and look for an email from GitHub. Click the “Verify email address” button. Doing so will take you to your homepage, where, if you’d like, you can add a few details about yourself.

You now have a GitHub account!
3.2 GitHub Desktop, or the Command Line?
Remember that Git is separate from GitHub. The latter is a service that’s been built around the former. One part of the services that GitHub offers is an application called GitHub Desktop, which allows users to manage their local repositories with a point-and-click graphical user interface (or GUI). Ultimately, it’s a matter of preference whether you use the GUI or stick with the command line for your own projects, but for this workshop, we will mostly interact with GitHub via the command line. One of the primary reasons for this has to do with the fact that not every computer you use will have GitHub’s GUI installed—or even have a screen! Many remote servers offer command line-only access, and if you ever want to sync your files with these machines, you’ll need to do so without GitHub Desktop. Luckily, GitHub seamlessly extends Git commands, so using the service without the GUI is, as we’ll see, quite straightforward.
3.3 Locally Setting Up Your Git Credentials
Regardless of how you make your commits, you will need to use the command line to provide Git with some information about who will be making commits. You may have already done this, however (and sometimes your computer does it automatically). To check, enter the following two commands in either Terminal (Mac) or Git Bash (Windows):
$ git config --global user.name
$ git config --global user.email
If you see your name (or some kind of username) and your email after entering the above commands, you’re set. If nothing happens when you type them, you’ll need to provide this information with the following:
$ git config --global user.name "<your name>"
$ git config --global user.email "<your email>"
You can check whether this was successful by simply calling either, or both, of the first two commands. They should echo back the information you’ve just entered.
3.4 SSH Keys and GitHub
When you work with remote repositories on GitHub, you’ll often need to enter your username/password to identify yourself. This is for two reasons: 1) it allows GitHub to track who has made changes to what files; 2) it adds a layer of security to projects, letting teams control who can make changes to their files. Repositories can be either public or private, and this layer of security helps teams control who has access to files in the first place.
It can be a pain, though, to have to enter and re-enter your credentials when making changes. More, passwords can be lost or worse, stolen. To avoid these problems, we can set up an SSH key. SSH keys (short for “Secure Shell”) are special, machine-readable credentials that allow users to safely connect and authenticate with remote servers over unsecure networks.
An SSH key has two parts:
- A public key, which encrypts messages intended for a particular recipient. This can be stored on remote servers, or even shared with others, to facilitate secure data transfers
- A private key, which deciphers messages encrypted by the public key. Your private key is the only thing capable of unlocking what is sent with your public key. It stays on your computer and should never be shared with anyone
Beyond what security measures an SSH key brings, it also acts as your digital signature. GitHub uses this internally to verify that you are, in fact, who you say you are when you commit code to a repository.
3.5 Connecting to GitHub with SSH
GitHub offers thorough, straightforward documentation for setting up an SSH key with its services, which we won’t repeat here. Instead, please visit the link below and follow the step-by-step instructions there to get yourself set up with a key. We will not go through this process during the workshop, so you must complete it before the session.
The following steps at the link above are required:
- Checking for existing SSH keys
- Generating a new SSH key and adding it to the ssh-agent
- Adding a new SSH key to your GitHub account
- Testing your SSH connection
Once you have completed these steps, be sure you can successfully run the following command:
$ ssh -T git@github.comIf your connection is successful, you will see this message (a warning may first appear—see the documentation on GitHub for more information):
Hi <your username>! You've successfully authenticated, but GitHub does not
provide shell access.
Need help? DataLab offers weekly open office hours sessions. Check the DataLab Calender for specific dates and times.